What To Check Before A Beauty Product Patch Test Routine For New Formulas
A practical step-by-step guide to what to check before a beauty-product patch-test routine for new formulas, including preparation, instructions, common issues, tips, and next steps.
What To Check Before A Beauty Product Patch Test Routine For New Formulas
Before beginning a patch-test routine for any new beauty product, you must verify the product's formula, check your skin's current state, prepare a clean testing area, and gather the right tools. This guide walks you through the essential checks, step-by-step procedures, troubleshooting advice, and advanced tips to help you test new formulas safely and effectively.
Fast Answer
- Check the product's ingredient list for known allergens or irritants, and review the manufacturer's patch-test instructions if provided.
- Perform a small 24-hour test on a discreet area like your inner forearm, and monitor for any redness, itching, or burning before applying to your face.
Before You Start
- Review the product's full ingredient list on the packaging or official website, noting any components you have reacted to before.
- Examine your skin for any active breakouts, cuts, eczema, or sunburn; do not patch-test over compromised skin.
- Cleanse the test area with a gentle, fragrance-free cleanser and pat it dry with a clean towel.
- Gather a timer or phone alarm, a cotton swab or clean fingertip, and a small amount of the product to ensure you use a consistent amount.
Step-by-Step Instructions
Check the Formula's Ingredients
Locate the ingredient list on the product label or the manufacturer's official website. Write down any components you suspect you are sensitive to, such as fragrance, essential oils, alcohol, or certain preservatives. Cross-reference this list with any products you have used safely in the past. If you have known allergies, verify that none of the listed ingredients are on your personal avoid list. This step is critical because even small amounts of an irritant can trigger a reaction. For example, a product labeled 'fragrance-free' may still contain botanical extracts that can cause sensitivity. If you are unsure about an ingredient you cannot pronounce, research it using reliable sources like dermatology websites or consult a pharmacist. Do not skip this step, as it forms the foundation of safe patch testing.
Assess Your Skin's Condition
Before applying any new formula, examine the area where you plan to patch-test. Look for any signs of damage: dry patches, flakiness, redness, acne, razor burn, or open wounds. If you see any broken skin, wait until it heals completely before testing. Also, consider your current skin state—if you are experiencing an active eczema flare, rosacea flare-up, or severe sunburn, your skin's barrier is already compromised. Testing on damaged skin can produce exaggerated reactions that do not reflect how your skin would normally handle the product. This step matters because a patch test's goal is to predict how your skin will react under typical conditions. Testing on compromised skin can give false positives and waste time. Choose a clean, intact area like the inner forearm or behind the ear, which mimics facial skin sensitivity but is less visible.
Clean and Prepare the Test Site
Wash the chosen patch-test area with a gentle, sulfate-free cleanser and lukewarm water. Rinse thoroughly and pat the skin dry with a soft, clean towel—do not rub. Ensure that no moisturizer, serum, or makeup remains on the area, because other products can interfere with the test. If you have applied any topical medications or treatments, such as retinol or corticosteroids, wait a day before testing to allow your skin to settle. Preparation is key because residue on the skin can cause irritation or trap the new product against the skin, leading to a reaction that is not due to the formula itself. A clean, bare patch gives you a reliable baseline. Set a timer once the area is dry, and have your cotton swab and product ready to apply the next step without contamination.
Apply a Small Amount
Using a clean cotton swab or your freshly washed fingertip, pick up about the size of a pea or a dab that covers a quarter-inch circle. Gently apply the product to the chosen area. Do not rub it in fully; leave a thin film on the skin. If the product is a rinse-off item like a cleanser, apply it, wait a few seconds, and then rinse as you would normally. For leave-on products, apply and let it dry naturally. Cover the area lightly with a bandage or medical tape to keep the product in place and prevent you from accidentally touching it. This step matters because a concentrated or excessive amount can cause irritation that would not occur with normal use. By using a minimal amount, you mimic real-world application and avoid overwhelming your skin.
Wait and Monitor for 24 Hours
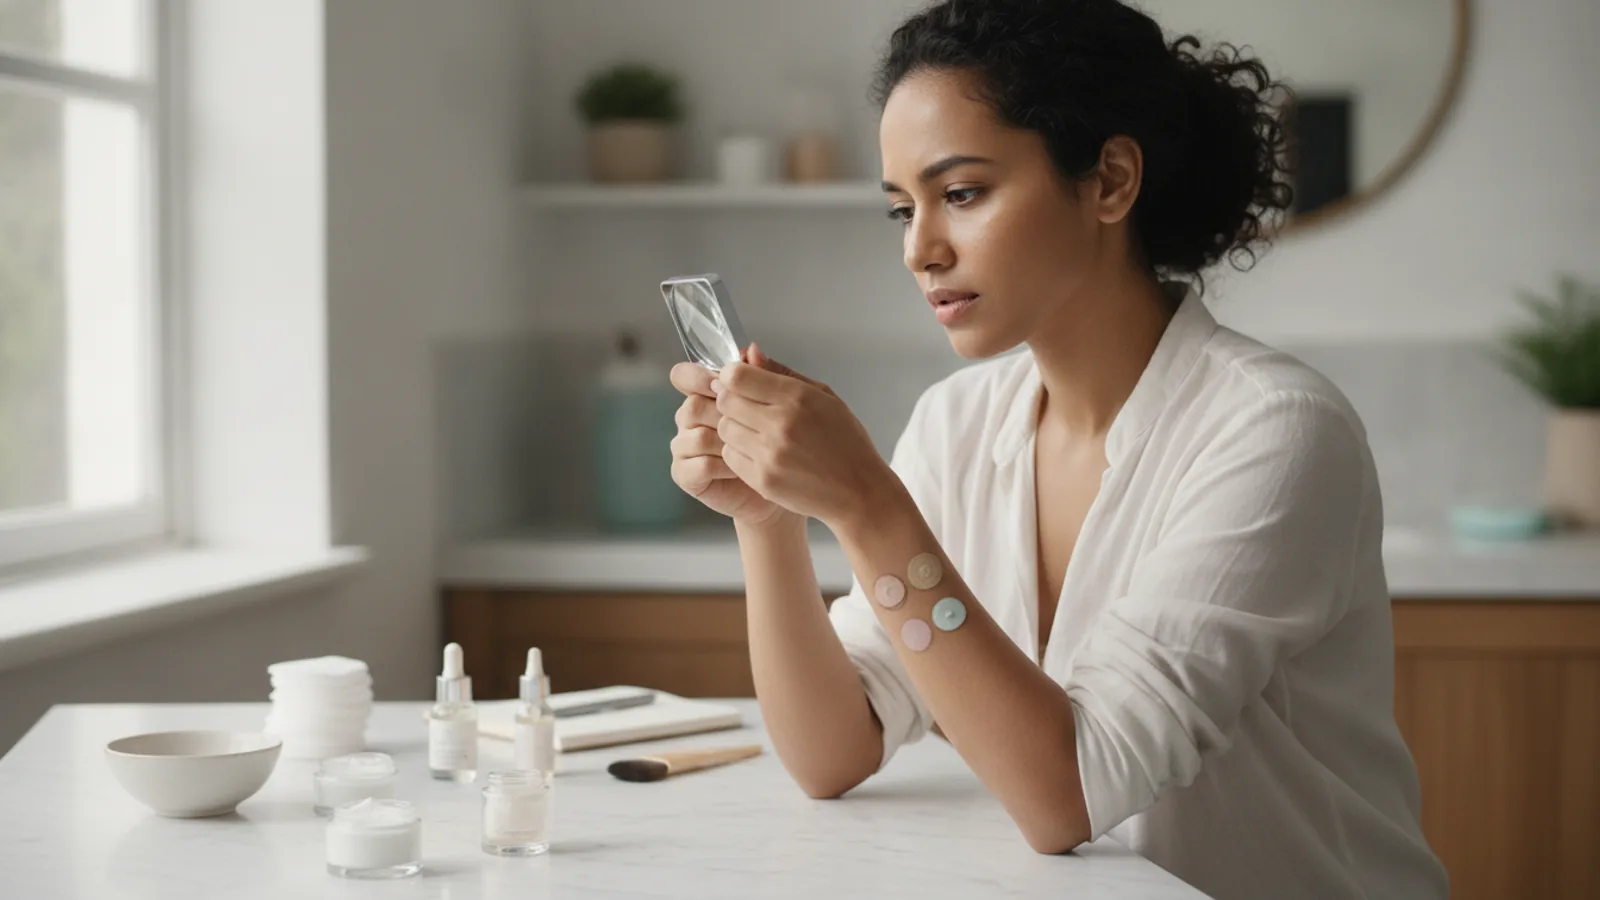
Leave the product on your skin for a full 24 hours without washing the area or covering it with anything else. Set an alarm to check the site periodically—for example, every few hours—to notice any early signs of irritation like redness, itching, or tingling. Take a photo at the start if you want a reference point. During this time, avoid sweating, getting the area wet, or applying any other cosmetics or treatments on or near the test site. Do not shower with the patch on; cover it with a waterproof bandage if you must shower. At the 24-hour mark, examine the area under bright light. Look for any bump, rash, dark spot, or unusual sensation. This waiting period is crucial because many contact allergies appear within 24 hours, but some can take up to 48 hours to manifest.
Evaluate and Decide
After 24 hours, remove the bandage and wash the area gently. Inspect the skin closely. If there is no reaction—no redness, bumps, itching, stinging, or dryness—your skin likely tolerates the product. However, if you notice even mild irritation, do not use the product on your face or body. A negative patch test does not guarantee full safety on more sensitive areas, so still introduce the product gradually. If a reaction occurs, clean the area with mild soap and water, apply a soothing lotion like aloe vera if available, and discontinue testing. Record what you used and the reaction date for future reference. This evaluation determines whether you proceed to a small, discreet area of your face, such as the jawline or temple, for a longer 'use test'.
Quick Reference
| Situation | Action | Why it helps |
|---|---|---|
| When you see any ingredient you might be allergic to in the ingredient list. | Do not test the product; return it or repurpose it only if a dermatologist gives you the all-clear. | Testing a product that contains a known allergen risks a severe reaction, even a small amount. |
| If your skin has any open cuts, active acne, or a rash at the intended test site. | Postpone the patch test until the area is fully healed and your skin barrier is intact. | Damaged skin absorbs more product and can produce false or exaggerated reactions that are not representative. |
| When you notice a mild itch or slight redness within the first 24 hours after application. | Remove the product immediately by washing the area gently with water and a mild cleanser, and stop the test. | Even mild irritation signals a negative reaction; continuing may escalate to a more severe breakout or allergic response. |
Common Issues
- Reaction appears after 48 hours, not within the 24-hour observation window.: Conduct a second patch test that spans 48–72 hours to catch delayed reactions; monitor the area beyond the initial day.
- Testing area gets contaminated by sweat or water during the test.: Use a waterproof, breathable bandage over the test site and avoid heavy exercise or swimming; if contamination occurs, restart the test on a new clean area.
- You misread the ingredient list and missed a hidden allergen.: Look up unfamiliar ingredients in a reliable source, and if you have frequent reactions, ask a dermatologist or pharmacist to review the list.
Advanced Tips
- For products that come in different batches, test each new batch separately, as formulations can vary slightly between production runs.
- If you have a history of severe allergies, consider doing the patch test on the inner elbow and wait 48–72 hours before any facial use.
- Keep a photo diary of the patch-test area to track subtle changes that your eyes might miss day-to-day.
Final Checklist
- Read the full ingredient list and cross-check with your known irritants or allergens.
- Make sure the test site on your skin is clean, intact, and free of active breakouts or skin conditions.
- Apply only a thin layer to the chosen spot and cover it with a breathable bandage for 24–48 hours.
- Keep notes on application time, any sensations, and the final result to guide future product choices.
FAQ
How long should I wait before trying the product on my face after a successful patch test?
After a clean 24-hour patch test on your arm, wait an additional 24–48 hours without any reaction before using the product on a small facial area, such as your jawline or temple. This extra period helps catch any delayed reactions.
Can I patch-test multiple products at the same time?
Yes, you can test several products at once, but ensure they are placed at least one inch apart on the same arm or on opposite arms. Label each spot clearly to track which product causes any reaction.
What if I have sensitive skin and often react to new products?
For reactive skin, lengthen the patch test to 48–72 hours, use a less sensitive area like the upper arm, and test only one product at a time. Also, pat the product gently and do not rub it in.