Common Mistakes When Planning A Foundation Shade Test Before Buying Online
A practical step-by-step guide to common mistakes when planning a foundation shade test before buying online, including preparation, instructions, common issues, tips, and next steps.
Common Mistakes When Planning A Foundation Shade Test Before Buying Online
Testing foundation shades online is convenient but risky. Without swatching in person, you can easily pick a tone that is too pink, too orange, or seems right in the photo but looks wrong in natural light. This guide walks you through every planning stage: checking your skin’s undertone, choosing suitable lighting, preparing your skin, using online tools correctly, reading reviews with a critical eye, and avoiding common mistakes. You will learn a reliable home-verification method that narrows down your options before you buy, saving you time and disappointment. Each step includes practical checks and tips to help you feel confident in your online foundation choice without relying on expensive sampling kits or guesswork.
Fast Answer
- Before buying, identify your true undertone (warm, neutral, cool) by checking the veins on your wrist and the inner skin of your forearm in daylight, not in store lighting or phone photos.
- Use online shade-match tools and video tutorials, but always verify the shade by comparing it to your jawline after letting it sit for five minutes in natural window light.
Before You Start
- Gather three digital photos of your face: one in daylight facing a window, one in indoor LED light, and one with flash. This shows how light changes your skin tone.
- Write down the exact foundation shade names you currently use, including the brand and line. Compare their undertone labels to your own skin notes.
- Use a paper towel or clean white paper to observe your skin’s base tone after cleansing and waiting ten minutes. Avoid products with dye or fragrance before the test.
- Pick a day when you have no sunburn, windburn, or acne flare-up. Your skin should be calm, hydrated, and free of tinted moisturizers or sunscreens for at least two hours.
Step-by-Step Instructions
Identify Your Undertone in Natural Light
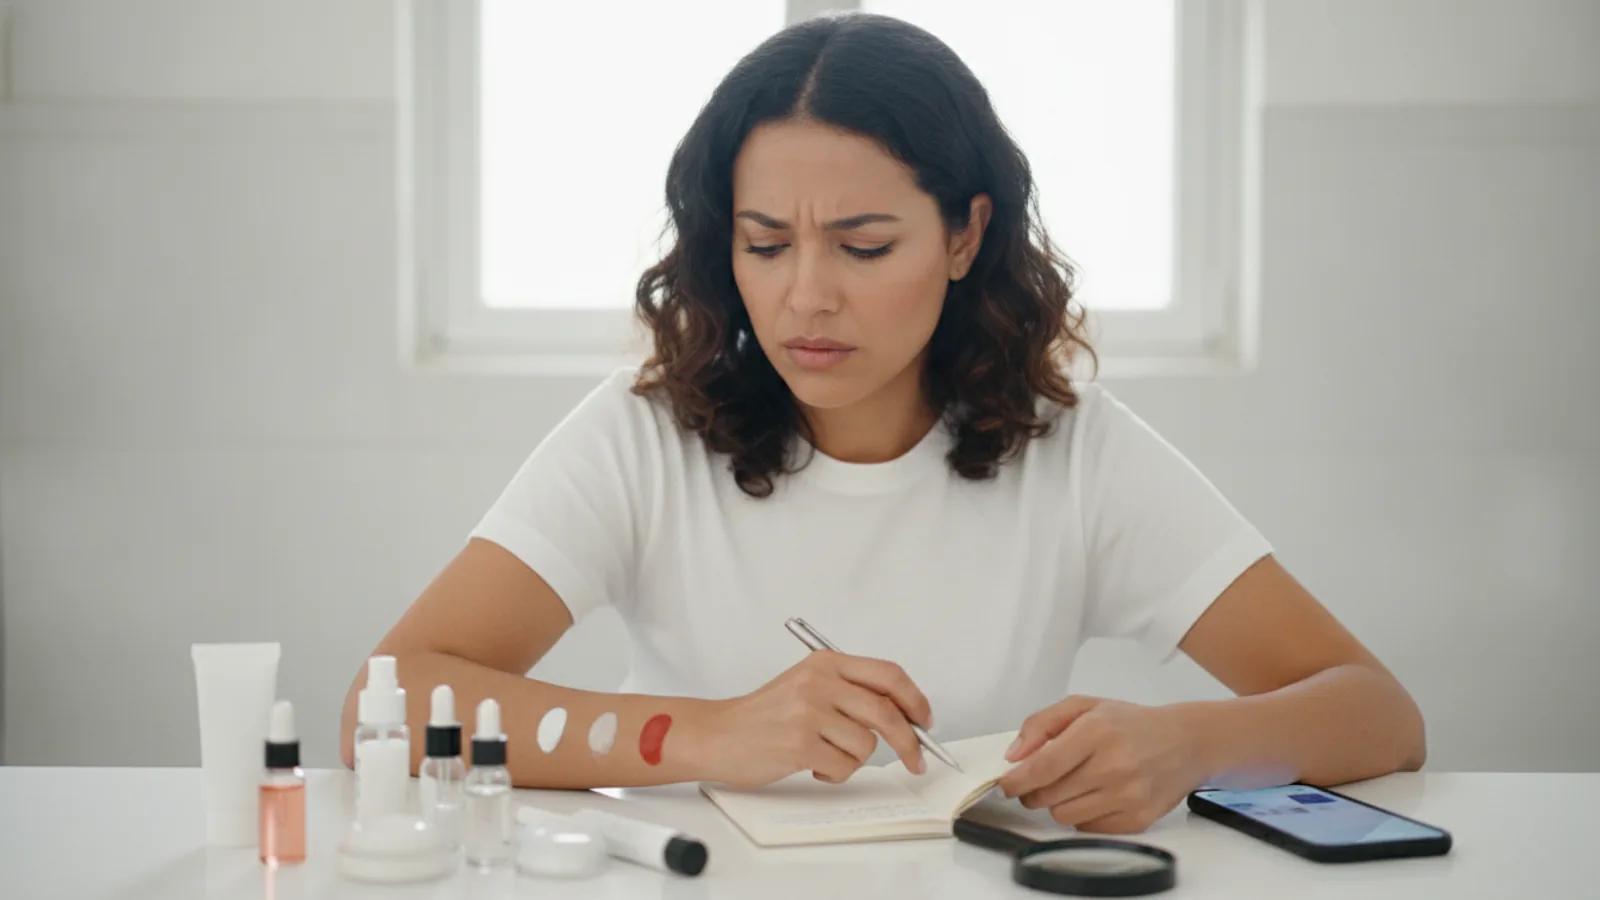
Stand near a window where the sun is not directly on your face, ideally between 10 AM and 2 PM. Look at the inner side of your forearm and the area just under your jawbone. Note whether your veins appear blue or green. Blue or purple veins usually mean a cool undertone, while green or olive veins suggest a warm undertone. If you cannot tell, hold a piece of plain white paper near your face and compare the color of your skin: yellow or peach means warm, pink or rosy means cool, and a mix means neutral. Write down your undertone and also observe your neck, because it may differ from your face. This step matters because every foundation range is built on undertone categories, and choosing the wrong undertone makes the shade look gray or pasty even if the depth is correct.
Prepare Your Skin and Lighting Settings
Wash your face with a gentle cleanser and wait fifteen minutes before applying any test products. Do not wear moisturizer, primer, toner, or sunscreen during the test, because they change your skin’s color and texture. Position a mirror near a window that does not get direct sunlight, or use a full-spectrum daylight lamp. Avoid relying on your phone camera’s selfie mode because it automatically corrects colors. Instead, hold a small hand mirror and look straight ahead, then tilt down to check your jawline. Take note of the lighting direction: if there is a shadow on your face, you might not see the true effect. Wait for your moisturizer and cleanser to be completely absorbed, because residue can alter the shade’s appearance. This prep step ensures that the test is consistent and that you judge the foundation exactly as it will look on clean skin.
Use an Online Shade-Match Tool Correctly
Most beauty websites offer a shade-match tool where you upload a photo or answer questions about your current foundation. To get accurate results, take a new photo with your phone’s rear camera in daylight, not a selfie camera. Position the camera at arm’s length and focus on your cheek and jawline. Make sure the photo is not washed out or too dark. Follow the tool’s instructions carefully, and answer all questions about your skin type and finish preference. After receiving recommendations, do not order just one shade. Instead, order the two most likely shades if the budget allows, or buy a sample sachet if available. Many tools also ask if your face is lighter or darker than your neck; choose the option that matches your own observation. This matters because an algorithm cannot see the nuances of your skin, and it may recommend a shade that is intended for a different undertone.
Cross-Check Reviews with Specific Skin Traits
Read customer reviews and look for people who mention their exact skin type, undertone, and that they have tested in daylight. For example, if you have dry skin and pink undertones, find a review that says 'I am dry, rosy in the cheeks, and this shade matched me perfectly in natural light.' Pay attention to the number of photos: a review with multiple pictures in different lighting is more useful than one with a single filtered selfie. Look for comments about oxidation, which means the foundation may turn darker or more orange after a few minutes. Also note the year of the review, because formulations can change. Search for the specific shade name and the phrase 'jawline' to find the most helpful details. This cross-check helps you see how the shade behaves on real skin rather than on a model in a studio.
Perform a Home Verification with a Small Swatch
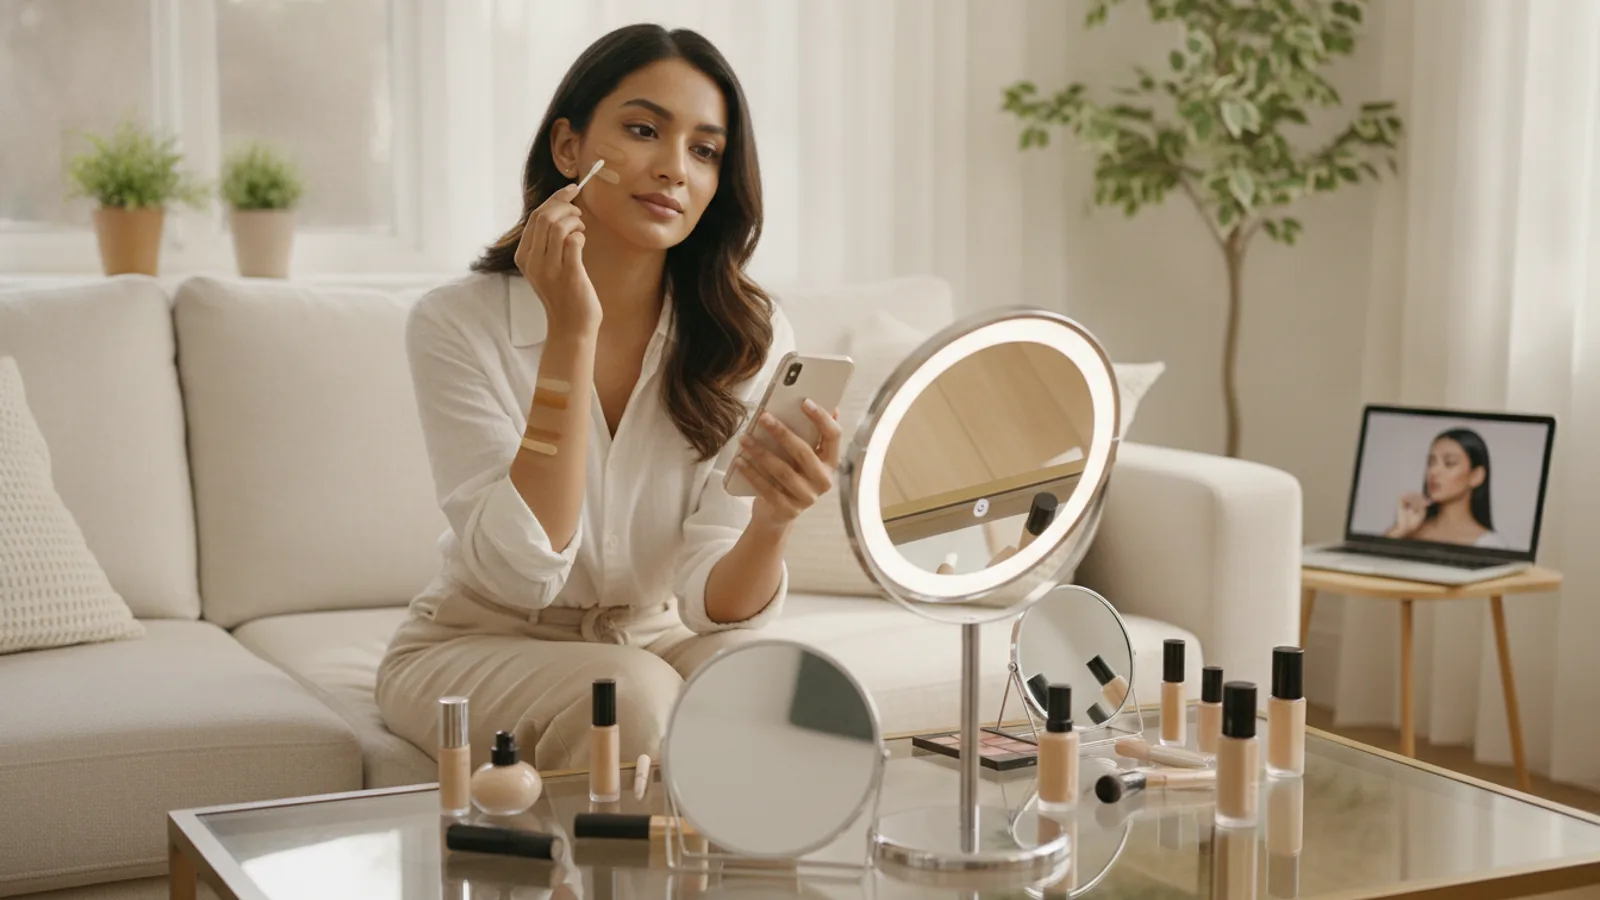
If possible, order a sample or buy a small trial size of your top two shades. Wait for a day when you have no makeup on your face. Apply a small dot of each shade to your jawline, starting from the top of the cheek down to the neck. Use a cotton swab or a clean finger to blend outward, and then wait ten minutes. Inspect in a mirror near a window (no direct sun). Look for any pink, orange, or gray tints. Then check yourself in a room with LED lighting and in a room with a soft yellow light bulb. The correct shade should seem invisible when your face is viewed from arm’s length, without being too light or too dark. This verification step is crucial because it shows the foundation’s true performance on your skin’s actual pH and oil level.
Decide Between Shades and Plan Your Purchase
After the ten-minute test, compare the two shades in daylight. If one is too light and the other too dark, you may need a third option. If both seem close, choose the one that disappears into your jawline. If your neck is lighter than your face (common), match to your neck to avoid a visible line. When ordering online, write down the exact shade names and the formula (e.g., matte versus dewy). Also note the concentration: if you prefer a lighter coverage, you can dilute with a moisturizer, but you cannot change a too-dark shade. If your skin tone changes seasonally, plan to buy a slightly lighter shade for winter and a deeper one for summer, but never buy a shade more than one step away. Also, have a backup plan: intend to buy a corrector or primer that can adjust the undertone if the shade is almost right.
Quick Reference
| Situation | Action | Why it helps |
|---|---|---|
| You cannot determine if your veins are blue or green. | Use a piece of white paper and compare the skin under your jaw to your neck, and also look at the color of your wrist in daylight. If your skin looks yellow next to the paper, choose warm; if it looks pink, choose cool. | This gives a clearer cue than vein color, which is influenced by lighting and skin transparency. |
| The shade looks perfect in a selfie taken with your phone, but you are unsure if it is accurate. | Take a photo using your rear camera in daylight, no filters, and view it on your computer screen. Then compare the photo to your skin in the mirror, not the phone screen. | Rear cameras capture more natural colors, and computer screens are less likely to adjust the image automatically. |
| You have a very pale neck but a darker face, and the foundation matches your face. | Match the foundation to your neck instead, because your face can be easily contoured with blush or bronzer, but a mismatched neck line is very noticeable. | The neck is the most visible edge of the foundation, and matching it creates a seamless transition. |
Common Issues
- The foundation looks fine in store lighting but orange in daylight.: Always test the foundation on your jawline in daylight before buying. If you have already ordered, apply a blue or green color-corrector primer to the area to neutralize the orange tone. Also, look for shades labeled 'neutral' rather than 'warm' if you have any pink in your cheeks.
- You have a reaction to the foundation, such as itching or redness, after applying a sample.: Remove the product with a gentle cleanser immediately. Then check the ingredient list for common irritants like fragrance, essential oils, and certain preservatives. Choose a foundation labeled 'fragrance-free' and 'non-comedogenic' next time, and always do a patch test on your neck 24 hours before using it on your face.
- The shade that matched in an online tool is too dark on your jawline.: Use a small amount of a lighter foundation or a white mixer to lighten the shade. Alternatively, apply the foundation only to the center of your face and blend down to your neck with a damp sponge. For future purchases, order the lighter of your two recommended shades, or look for a shade with a 'cool' undertone, which often appears lighter.
Advanced Tips
- Take a video of yourself in natural light while turning your head from side to side, and watch it on a desktop monitor to see if the foundation changes color or forms a visible line.
- When checking your undertone, examine the inside of your elbow as a backup area, because it is less affected by sun exposure than your face.
- If you have combination skin, test the foundation on both your T-zone and cheeks to see if it oxidizes differently on oily versus dry areas.
Final Checklist
- You have written down your undertone (cool, warm, or neutral) after checking in natural light.
- You have tested the top two shades on your jawline for ten minutes in three lighting conditions.
- You have read at least ten recent reviews from people with your skin type and undertone.
- You have decided on a backup plan (such as a color corrector) and confirmed the return policy before purchasing.
FAQ
Should I trust online shade matching if I have acne or rosacea?
No, because foundation shades are designed to match your skin’s natural tone, but acne and rosacea can cause redness that makes the shade look different. Instead, focus on matching your neck and chest, which are less affected by breakouts. Also, use a green color-correcting primer over red areas before applying foundation, which allows the foundation to look more even.
What is the best time of day to test a foundation at home?
The best time is between 10 AM and 2 PM with clear daylight. At this time, daylight is most neutral and you can see the true color. Avoid testing in the early morning or late evening when light is warmer and dimmer. If you cannot test during this window, use a full-spectrum daylight lamp that simulates noon sunlight, and position it at a 45-degree angle from your face.
Is it necessary to buy a sample if I am almost 100% sure of my shade?
Yes, because even if the shade is correct, the formula may react differently with your skin. Some foundations oxidize, turning darker within an hour. Others may look good on your jawline but change color on your forehead where you are oilier. Buying a sample or a travel size lets you test for a full day before committing to a full bottle. It is a small cost that prevents a big disappointment.