A Foundation Shade Test Before Buying Online Checklist For First Time Readers
A practical step-by-step guide to a foundation shade test before buying online checklist for first-time readers, including preparation, instructions, common issues, tips, and next steps.
A Foundation Shade Test Before Buying Online Checklist For First Time Readers
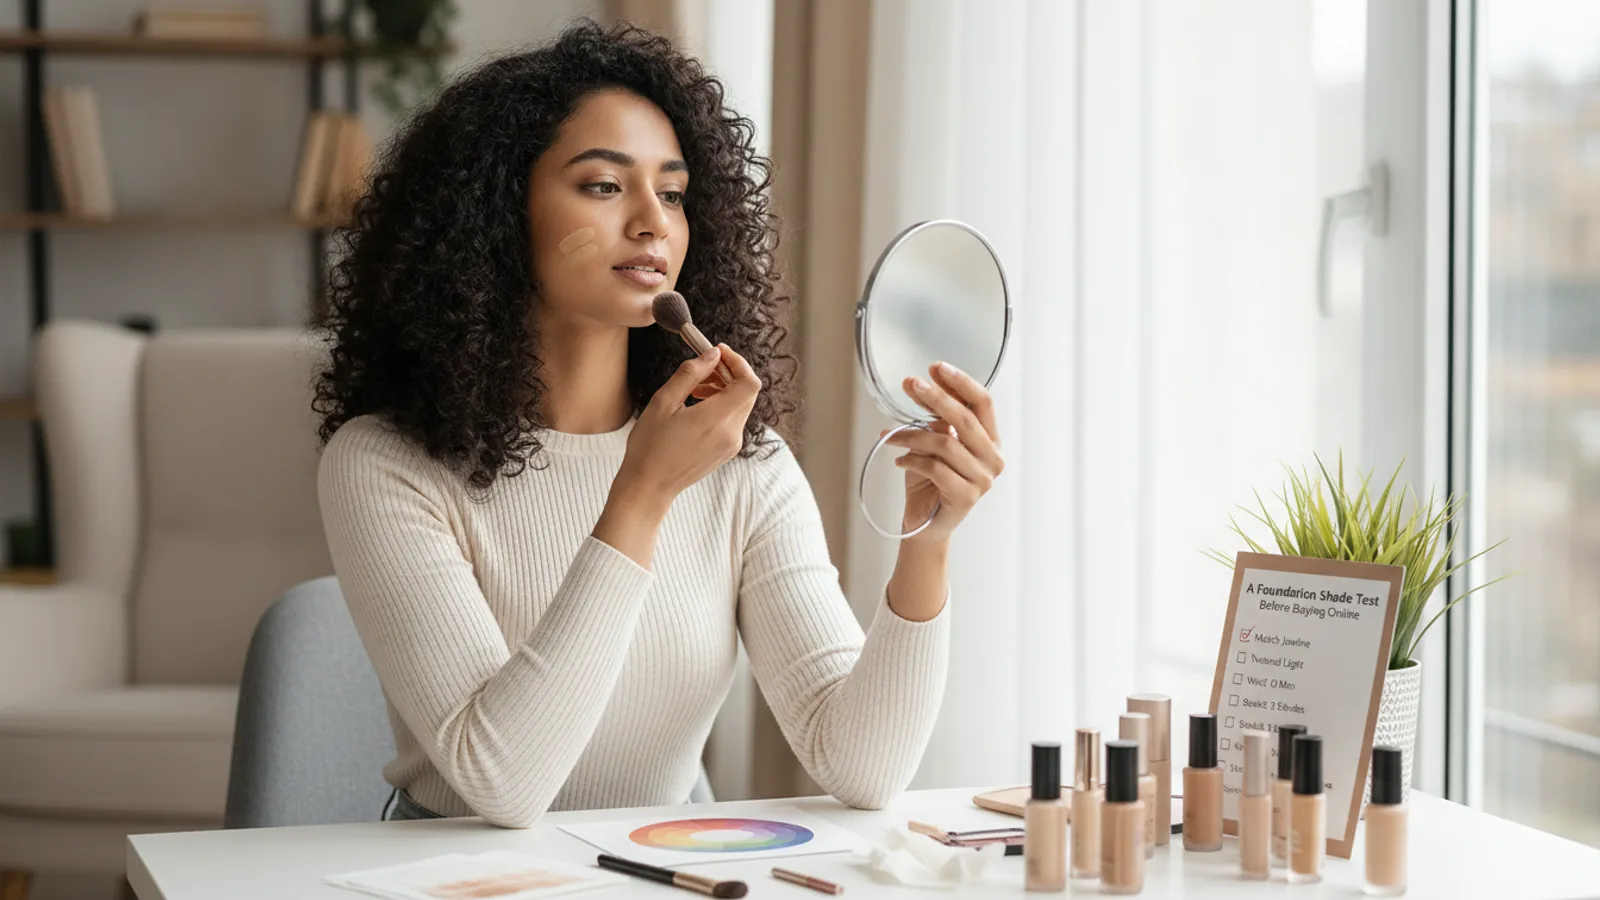
Buying foundation online without testing it in person is risky because screen colors, lighting, and undertones can mislead you. This checklist guides first-time online shoppers through a simple, practical shade-matching process using what you already have at home. You will learn how to identify your undertone, take a reliable selfie, compare shades digitally, and verify your choice with sample sizes or return policies. The goal is to reduce guesswork and help you choose a foundation shade that looks natural in real life, not just on a screen.
Fast Answer
- Identify your undertone by checking the color of the veins on your wrist: blue or purple means cool, green means warm, and a mix means neutral. Use this as your first filter when looking at shade ranges.
- Take a well-lit photo of your jawline with no makeup, then use a free photo editor to sample the color from the photo and compare it to online swatches. This gives you a measurable starting point.
Before You Start
- Gather a makeup mirror, a clean cotton pad, and makeup remover to ensure your skin is bare and clean before any color testing.
- Find a window with indirect natural light. Avoid direct sunlight or indoor lighting because they change how colors appear on your skin.
- Have a paper towel or tissue to wipe your wrist or jawline after checking vein colors so you can see the true undertone without smudging.
- Open a free photo editor app or software on your phone or computer that shows color values (RGB or hex codes) so you can sample your skin tone precisely.
Step-by-Step Instructions
Determine Your Undertone
Start by looking at the inside of your wrist under natural light. Turn your hand so your palm faces up and look at the veins. If your veins appear blue or purple, you likely have a cool undertone. If they look green, you probably have a warm undertone. If you see a mix of both, you may be neutral. Another way is to hold a piece of white paper next to your face; if your skin looks pinkish or rosy, you are cool, and if it looks yellow or golden, you are warm. This step is essential because foundation shades are grouped by undertone, and choosing the wrong one will make your face look ashy or orange. Write down your undertone and keep it as your primary filter when browsing shades.
Take a Clean Jawline Photo
Wash your face and wait at least ten minutes so any redness from washing fades. Pull your hair back and sit facing a window with indirect light. Use your phone's rear camera, not the selfie camera, if possible, to avoid distortion. Step back about an arm's length and take a photo of your jawline and neck, ensuring your face is evenly lit without harsh shadows. Make sure no makeup, sunscreen, or moisturizer alters your skin color. This photo is your reference for matching, so it must represent your bare skin accurately. Avoid using flash because it creates a washed-out effect. After taking the photo, transfer it to your computer or keep it accessible for the next step.
Extract the Exact Skin Tone
Open the photo in a free photo editor that can sample color, such as a basic paint program or an online tool. Use the color picker tool to click on the area of your jawline that is most even in tone, avoiding any shadows or redness. Note the RGB values or the hex code that appears. This gives you a numerical representation of your skin color. Then, take a few more samples from your forehead and cheek to get an average. This step removes guesswork because you now have a concrete color value instead of just a mental image. You can use these numbers to compare with online shade descriptions that often list undertone and depth, not exact RGB, but the values help you understand your depth and undertone with more precision.
Compare with Online Swatches
Visit the brand's website and look at the foundation shades available. Many brands provide swatch photos on different skin tones. Compare those photos with your own jawline photo, but also look for the shade's description, such as 'light with neutral undertones'. Use the RGB values you extracted to find shades that match your depth. A useful method is to look for shade names that include your undertone, like 'warm', 'cool', or 'neutral'. Some websites allow you to upload a photo to 'try on' shades virtually. Use that feature if available, but always cross-check with written descriptions. If the shade range includes a numbering system, note that lower numbers usually mean lighter shades. This step helps you narrow down to two or three candidate shades.
Check User Photos and Reviews
Read customer reviews for the specific shade you are considering. Look for reviews from people who mention their skin tone and undertone, such as 'I have fair skin with pink undertones and this shade is perfect'. Search for the shade name on social media or beauty forums to find real-world photos taken in different lighting. Be cautious of reviews that mention oxidation, which means the foundation darkens after application, or that the shade looked different in person. Pay attention to repeated comments about a shade running 'too pink' or 'too yellow' for the listed undertone. This step is crucial because online swatches are often edited, and real user photos give you a more realistic idea. Save the most helpful reviews for your final comparison.
Confirm with Samples or Return Policy
Before purchasing a full-size bottle, check if the brand offers sample sachets or a trial size. Some retailers provide free samples with an order or allow you to buy a deluxe sample. If that is not possible, read the return policy carefully to ensure you can return or exchange opened foundation if the shade is wrong. When you receive the product, test it on your jawline in natural light and check it in different lighting conditions before wearing it all day. Apply a thin layer and wait a few minutes to see if it oxidizes. If you are ordering online, consider ordering two similar shades and returning the one that does not match. This step saves you money and frustration in the long run.
Quick Reference
| Situation | Action | Why it helps |
|---|---|---|
| You are unsure if you have warm, cool, or neutral undertones because your veins look both blue and green. | Look at your skin in natural light and see if you look better in gold jewelry or silver jewelry. If gold flatters you, you are warm; if silver, you are cool; if both, you are neutral. | The jewelry trick is a practical way to assess your undertone because contrasting metals highlight the subtle hue in your skin, making it easier to categorize. |
| The online shade looks perfect on your screen but you are worried your phone's screen is not accurate. | Take a screenshot of the swatch on your phone and email it to yourself. Open it on a calibrated computer monitor, if possible, and compare it again with your jawline photo. | Different screens have different color calibrations, so checking on multiple devices gives you a more reliable idea of the true color before you buy. |
| You found a shade that matches your face but your neck and chest are a different color. | Take a photo of your jawline and chest together, and use a color picker to compare the two skin tones. Choose a foundation that matches your neck or chest, not your face, if they differ. | Your face is often slightly different in color from your neck due to sun exposure or skincare. Matching the foundation to your neck and chest creates a seamless transition and avoids a visible line. |
Common Issues
- The foundation looks too pink or too yellow even though you thought you knew your undertone.: Re-evaluate your undertone by looking at the veins on your wrist again in daylight. You may have a neutral undertone that sits between warm and cool. Try a shade labeled 'neutral' or mix a pink-toned and yellow-toned foundation together to create a custom match.
- The foundation oxidizes and turns darker or orange after a few minutes on your skin.: Check the ingredient list for 'iron oxides' which can cause oxidation. Purchase a formula known for minimal oxidation, and always test it on your jawline and wait at least ten minutes before judging the color. If possible, choose a shade one level lighter than your skin to compensate for the darkening.
- The online swatch on the website looks totally different from the shade you receive.: This can happen due to monitor differences and inaccurate product images. Always cross-reference with multiple swatch photos from different websites and user photos. Also, check the product's batch number or manufacturing date, as older batches may have color shifts.
Advanced Tips
- Use a digital color meter app on your phone that displays the hex code of any color from your photo. You can then compare that hex code to the hex codes listed on beauty blogs that review foundations, giving you a numeric match.
- If you are between two shades, consider how your skin changes throughout the year. Buy the lighter shade for winter and the darker shade for summer, or blend them to match your current skin tone for a seamless finish.
- Create a 'skin reference card' by printing your jawline photo with the RGB values written on it. Store it in your wallet or phone notes, so you can quickly compare when you encounter new products in stores or online.
Final Checklist
- Have you identified your undertone by checking veins, jewelry test, or a friend's feedback?
- Did you take a clean photo and extract the RGB values from your jawline and neck?
- Did you compare your RGB values with online swatches and read at least three user reviews for your shade?
- Have you checked the brand's return policy and either ordered a sample or purchased from a flexible return retailer?
FAQ
How can I tell if a foundation shade is too light or too dark before buying?
Look for the shade's depth description on the website, such as 'fair', 'light', 'medium', 'tan', or 'deep'. Compare your jawline photo to the model's photo or use a virtual try-on tool if available. You can also look for a shade's 'undertone' and 'depth' code; for example, a shade named 'light with golden undertones' is typically lighter than 'medium with neutral undertones'. The best way is to use the RGB values you extracted: if the average RGB of your skin is, say, R=240, G=210, B=190, then you are in the light range. Also, check the shade's placement in the overall range—if it's near the beginning (1 to 10), it's lighter.
What if I buy a full-size bottle and the shade is wrong?
First, avoid this by purchasing from a store or website that allows returns on opened cosmetics. Many retailers accept returns within a certain period, even for used items, but it is not universal. Read the return policy before buying. If the product is wrong, most policies will let you return it for a refund or exchange, but you may need to cover return shipping. Some brands have a shade-match guarantee where they will replace the product if the shade is wrong. Always keep the receipt and the original packaging until you are sure. If you cannot return it, you can use the foundation as a mixer with other shades or a slightly lighter or darker one you already own.
Is it better to buy two similar shades and return one?
Yes, this is a practical strategy if you have a flexible budget and are unsure. Order two shades that are close in depth and undertone, such as 'light neutral' and 'light warm'. When they arrive, test both on your jawline side by side in natural light. See which one disappears into your skin. Return the other one according to the store's return policy. This can be done online or in-store, depending on the retailer. However, always check the return policy first; some stores have a small restocking fee for returns, which would negate the benefit. Also, consider environmental impact—returning products costs resources, so only do this if you cannot determine the match any other way.