How To Choose A Foundation Shade Test Before Buying Online
A practical step-by-step guide to how to choose a foundation shade test before buying online, including preparation, instructions, common issues, tips, and next steps.
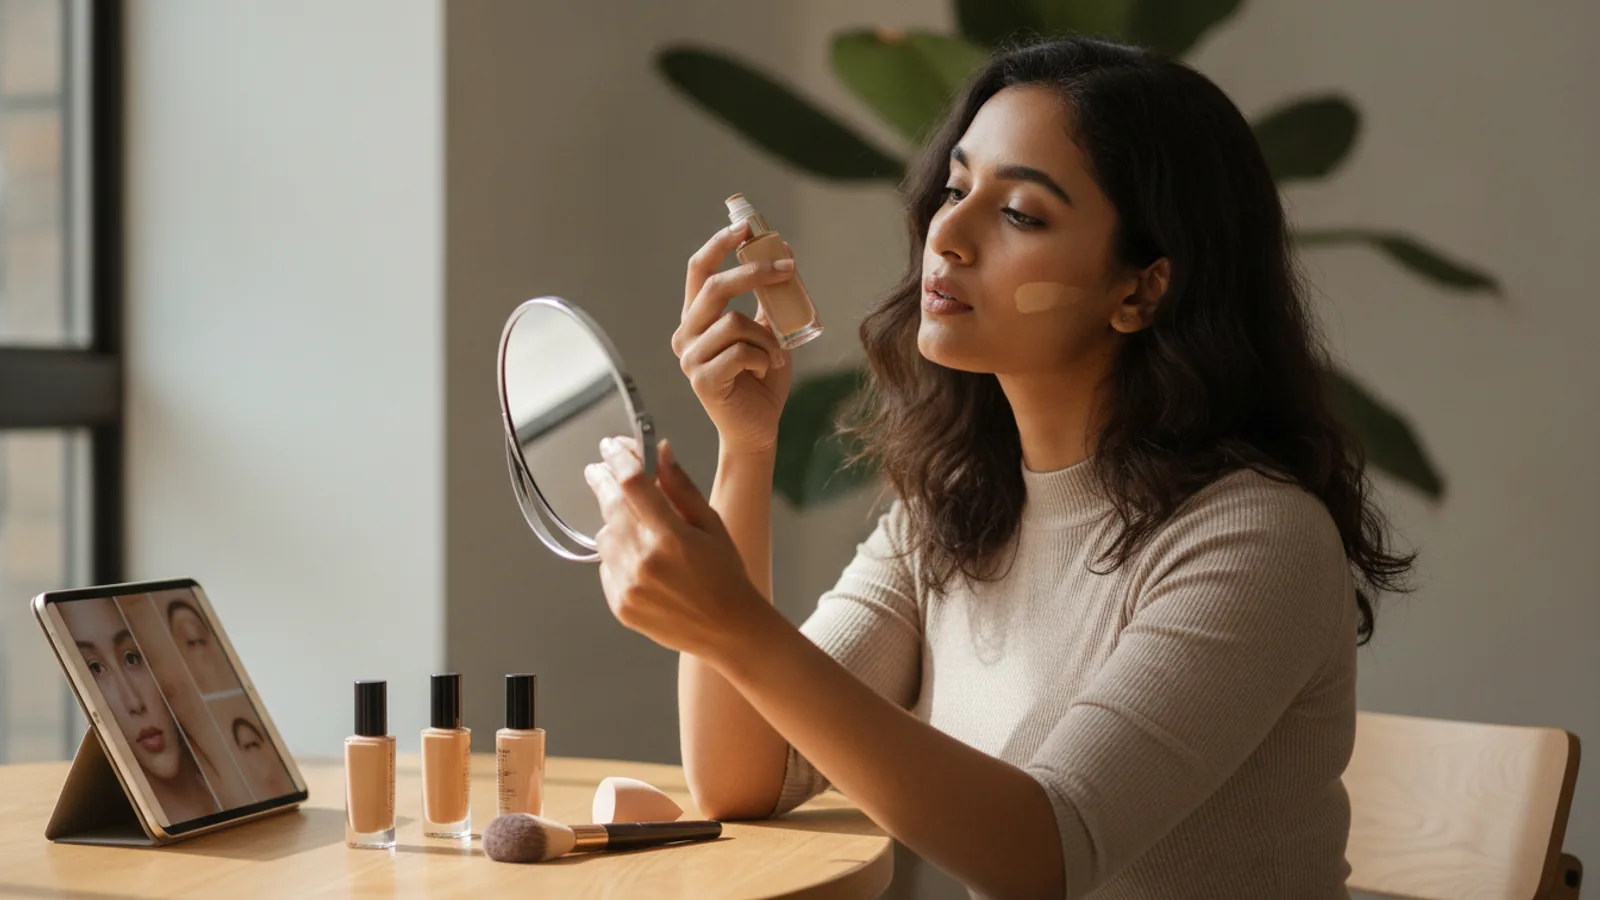
How To Choose A Foundation Shade Test Before Buying Online
Choosing a foundation shade without testing it in person can feel risky, but you can dramatically improve your chances of getting the right match by using a systematic approach. This guide walks you through a practical, step-by-step method that uses your skin’s undertone, your own digital tools, and the guidance of online communities and brand resources. You will learn how to prepare, how to analyze your skin, how to use virtual try-on tools effectively, and how to interpret swatch photos. It also covers common pitfalls and how to fix them. With careful preparation and a willingness to use trial and error wisely, you can confidently order a foundation online that blends seamlessly with your skin.
Fast Answer
- Determine your undertone (warm, cool, or neutral) by checking the veins on your wrist and how your skin reacts to sun exposure.
- Use brand shade matchers with your current foundation or concealer, then cross-check that shade with swatch photos and virtual try-on tools.
Before You Start
- Clean your face and neck thoroughly with a gentle cleanser to remove any dirt, oil, or old makeup, and wait at least 15 minutes for your skin to settle.
- Find a bright, indirect light source, such as a north-facing window, so you can see your skin’s true color without glare or shadows.
- Write down the shade names and numbers of any foundations, concealers, or powders you already own that match you well.
- Have a hand mirror, a small handheld mirror, and a camera (like a smartphone) available to take photos of your neck and jawline in natural light.
Step-by-Step Instructions
Analyze Your Undertone
Before you even look at foundations, you need to know whether your skin has a warm, cool, or neutral undertone. This is the subtle hue beneath your skin’s surface. To find it, look at the veins on your wrist in natural light. If they appear blue or purple, you likely have a cool undertone, which means foundations with a pink or rosy base will suit you. If the veins look green, you have a warm undertone, so gold or peachy bases are better. If you see both, you may be neutral, and you can wear a mix. Another test is to think about how your skin reacts to the sun. If you tend to burn before tanning, you are probably cool; if you tan easily and rarely burn, you are warm. This step is crucial because buying a foundation with the wrong undertone will make your face look disconnected from your neck, even if the lightness is a match. Take your time to examine your skin in different lights before moving on.
Find Your Current Closest Match
If you already own a foundation or a concealer that blends into your jawline perfectly, you have a valuable reference point. Gather all your current complexion products and read the shade names or numbers. Write them down. Then, use online shade-matching tools that some brands provide on their websites. These tools ask you to enter the shade you are currently using, and they will suggest a corresponding shade in their own line. Even better, look for shade comparison charts that list the exact equivalents across different brands. Note that these charts are not always accurate, but they give you a starting place. If you do not have a current product that matches, you can use a concealer you use for your under-eye or to cover blemishes, as long as it is close to your skin color. This step saves time because you already have a confirmed match from the past, so you do not have to start from scratch.
Use Virtual Try-On Tools
Many beauty brands offer virtual try-on tools that let you apply foundation to a photo of your own face. To use this effectively, make sure you have a well-lit, front-facing photo of yourself with your hair pulled back and no makeup on. Upload it to the tool and select the shades you are considering. View the results in a mirror or on a second device so you can see the effect from a distance. Keep in mind that these tools are not perfect. They can be thrown off by your screen’s color and may not account for the texture of your skin. However, they are useful for eliminating shades that are clearly too dark or too light. If the tool makes your face look too orange or too gray, you know that undertone is wrong. If you look healthy and bright, you are on the right track. Remember that this is only a rough guide, so do not make your final decision solely based on this.
Study Swatch Photos
Swatch photos are pictures that people post online showing a strip of foundation shades swiped on their arm or jawline, usually in natural light. Look for swatches of the specific shades you are considering, and try to find photos of people who have a similar skin tone to yours. Search on social media platforms like Instagram or Pinterest using hashtags that combine the foundation name and the shade number. When you look at these photos, pay attention to the shades that appear on the edges of the arm, often close to the wrist, because the inner arm tends to be lighter. Compare the swatches to the skin around them. Does the swatch blend into the skin naturally, or does it look like a rectangle of color that is too yellow or too pink? Also, look for photos that show the foundation blended out, not just a thick swatch. The blended version gives you a better idea of the finish and how it melts into the skin.
Test with a Sample or Travel Size
When you have narrowed down your choices to two or three shades, do not buy the full-size bottle immediately. Instead, look for sample sizes or travel sizes that you can purchase or sometimes get for free from beauty retailers. If you can, order a small decant from an online seller or ask in online makeup communities if anyone can send you a sample. Once you have the samples, apply a stripe of each to your jawline and take a photo in natural daylight. Leave the swatches on for at least an hour to see if the foundation oxidizes, which means it changes color when exposed to air. Some foundations darken or become more orange as they settle. If you can wear the sample all day, do that. This step lets you see how the foundation wears on your skin, not just how it looks when first applied. It also saves you money and avoids waste.
Verify with the Check V Method
Once you have a sample, you can do a final check. Apply a small amount of the foundation to your jawline and blend it down your neck and onto your chest. Wait a few minutes for it to dry, then look in a mirror in natural daylight. The perfect shade should seem to disappear when you step back about an arm’s length. There should be no obvious line where the foundation ends and your neck begins. Also, check the shade from different angles, such as from the side and below, to ensure there is no mismatch. If this looks good, you have found your match. If not, go back to step five and try a different shade. This method is called the “check V” because you are looking at the area that forms a V from your ear to your chin. This is the most telling area because it is the most visible boundary between your face and your body.
Quick Reference
| Situation | Action | Why it helps |
|---|---|---|
| You see that a foundation looks orange all over your face. | Stop applying it and take it off. Look for a shade with a pinker or bluer undertone, preferably one labeled 'cool' or 'rosy'. | An orange appearance usually means the foundation’s undertone is too warm or yellow for your skin. A cool undertone will neutralize the orange and blend better. |
| Your face appears gray or ashy after applying the foundation. | Switch to a shade that has a warmer or golden undertone. If possible, test a shade that is described as 'warm' or 'peachy'. | A gray cast happens when the foundation has too much pink or blue undertone, which can make your skin look dull. A warm undertone adds life and brightness. |
| You cannot decide between two similar-looking shades in the same foundation line. | Apply both shades to opposite sides of your jawline, let them dry, and take a photo in natural light. Walk away for a minute and then view the photo fresh. | Comparing them side by side lets you see the subtle differences more objectively. A fresh look helps you avoid a bias toward the first shade you tried. |
Common Issues
- The foundation shade looks fine indoors but too dark or light in sunlight.: Buy a shade that matches your skin in natural daylight, not indoor lighting. Indoor lighting is often dim and warm, making your skin look darker than it is. Check the shade outside or near a window before buying.
- You have a shade match, but the foundation oxidizes and turns a few shades darker after a few hours.: Look for a foundation labeled as 'non-oxidizing' or 'long-wearing' and test it for at least an hour on your skin before buying the full bottle. If you have already bought it, try applying a lighter shade or use a primer that controls oil, as oxidation can worsen with oily skin.
- Your virtual try-on result looks great, but the actual foundation is clearly different.: Do not rely on virtual tools as a final answer. They cannot capture your skin’s true texture and tone. Always verify with swatch photos and real samples before purchasing. If the virtual tool showed a perfect match, go back to your list and test all similar shades in person via samples.
Advanced Tips
- Learn the numbering system of the brand you are interested in: many brands use a number for lightness (e.g., 1 being lightest) and a letter like N, W, or C for neutral, warm, or cool. This helps you spot similar shades across different product lines.
- If you are between two shades, consider buying a mixer or color adjuster that allows you to lighten or alter the undertone of your foundation, so you can tailor the match exactly to your skin.
- In online beauty communities, ask members to post photos of themselves wearing the foundation and include details about their Mac shade or other reference points, as this gives you a real-world comparison.
Final Checklist
- Confirm your undertone with the vein test and sun reaction test.
- Note the shades of any current foundation or concealer you own as a reference point.
- Use virtual try-on tools and swatch photos to narrow down to two or three potential shades.
- Order samples of those shades and test them on your jawline in natural light, checking for oxidation and a seamless blend.
FAQ
What if I don't have a current foundation to use as a reference?
If you don't have a foundation, you can use a concealer you already own, provided it matches your skin. If you have no matching products at all, use the web to find swatch photos of people with a similar known reference, like a well-known celebrity's skin tone or a common shade from a MAC or other brand, and try to match that. You can also visit a physical store and ask for a sample of a shade that a consultant matches to your skin, then use that sample as your reference.
How do I know if a swatch photo is trustworthy?
Trustworthiness depends on the lighting and camera settings. Look for photos taken in natural, diffused daylight, not with flash or indoor lighting. The photo should show the swatch on an arm or jawline without any editing. The poster often mentions their skin tone or Mac shade, which helps you compare. If a photo looks overly vibrant or washed out, it may not be accurate. Look for multiple photos of the same shade to get a better sense.
Can I test foundation on my wrist to find a match?
The wrist is not the best place because the skin there is usually lighter and has a different undertone than your face. The jawline is the most accurate area because it is closest to your face and blends with the neck. If you must test on your wrist, do it at the inner wrist, but always confirm with a jawline test later.